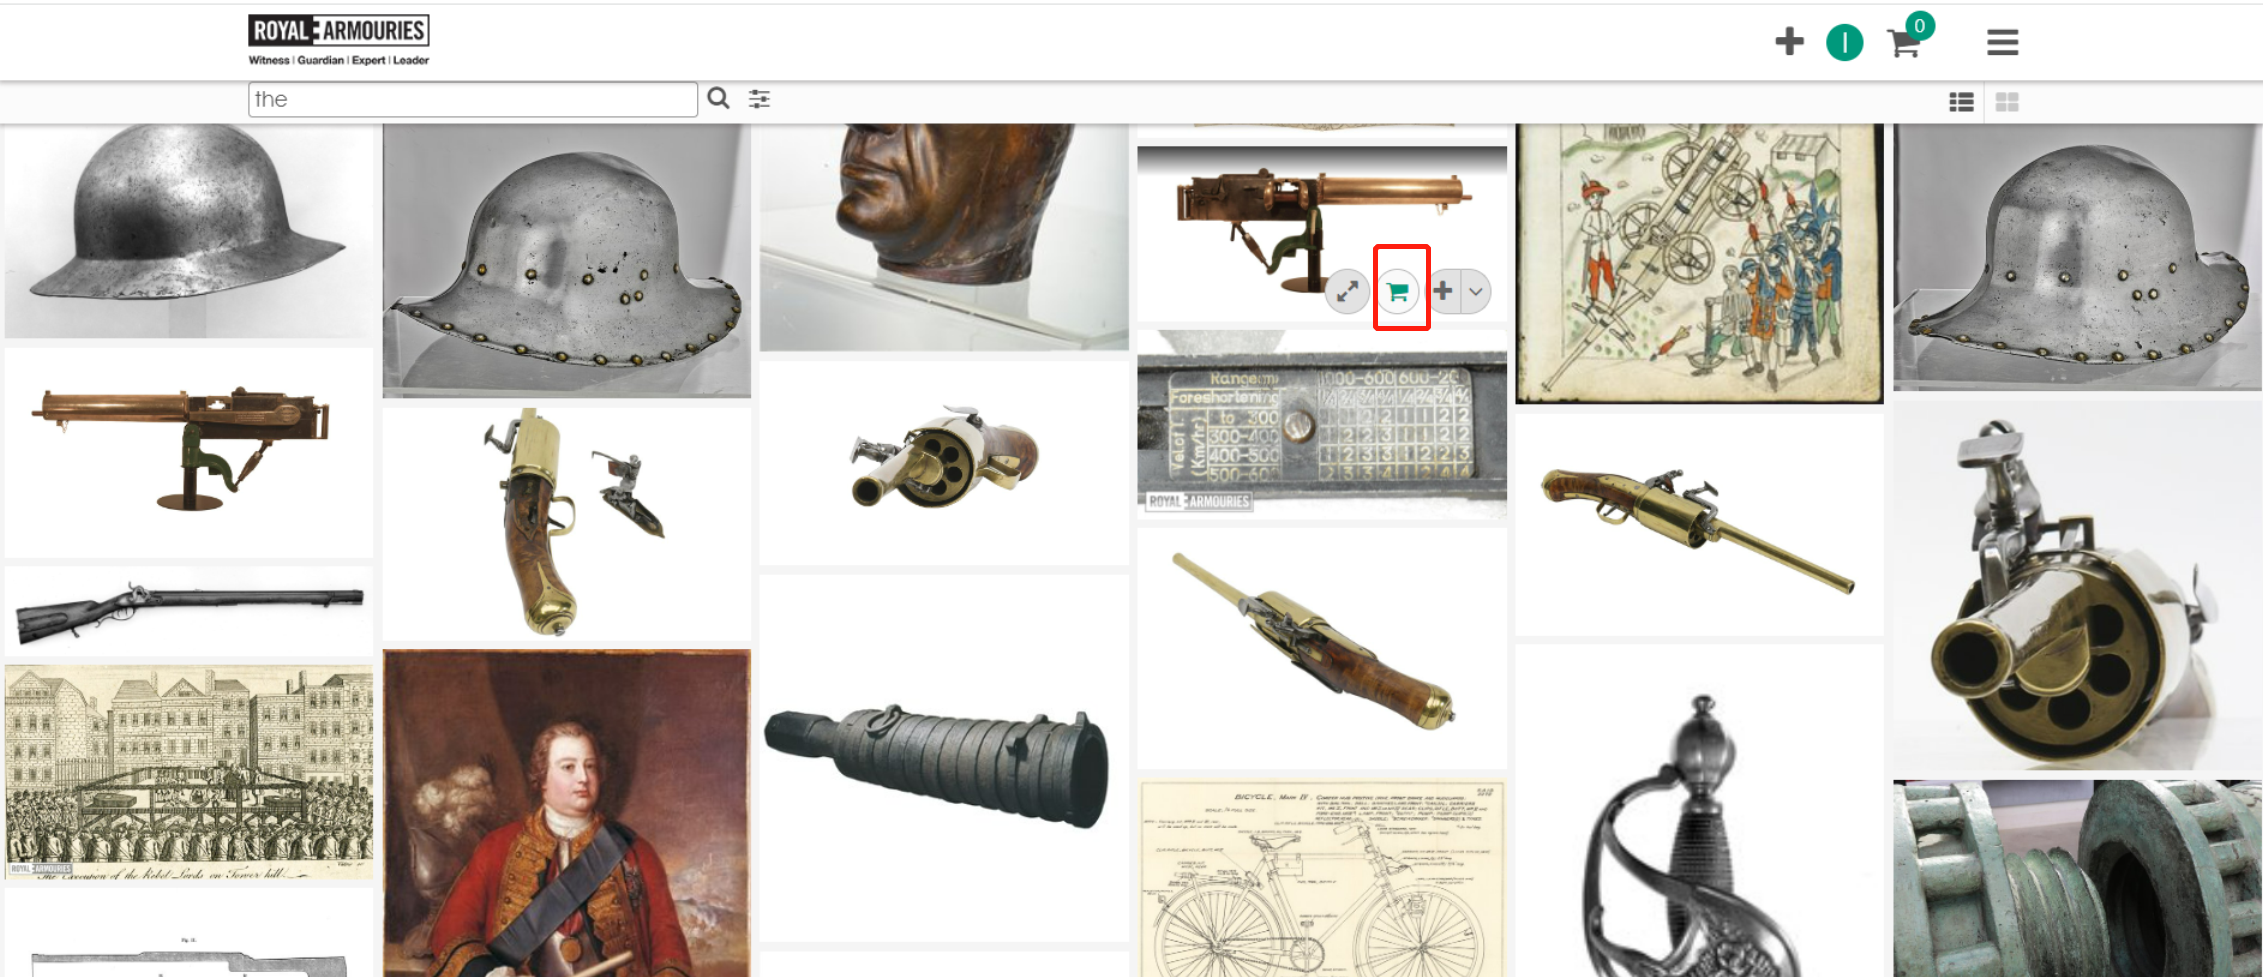
After logging in, you can add items to a basket by clicking on the basket symbol where it appears over or next to thumbnails and previews in your search results. If you have not created a basket yet, then one will automatically be created the first time you add items to a basket. You will see a green notification box to confirm that you have successfully added the item(s) to a basket.

To view the basket, click on the basket symbol in the menu bar. This will show the current basket and any additional saved baskets.
You can add a new basket by clicking on the ‘Add new’ button. To set the default basket, click on the star symbol to the left of it. To view the items in a basket, click on its name in the panel. To rename or delete a basket, click on the menu symbol to the right of the basket’s name.

After adding items to a basket, open it by clicking on its name. This will allow licensing and other details to be selected. Under ‘License Details’ click on ‘Change’ to select the license options. The price will then be shown on the right. You can also set the same license for all items in the basket.

To remove any item from the basket, click on the X symbol to the left of the item.
You will also need to select the delivery details, for example ‘direct download’, from this page. After completing the details, click on the Checkout button to complete the transaction. Enter your card details, and click on ‘Place Order’. If your delivery method is direct download, you will be able to download the basket items after your order is completed.